If you’re running a D2C brand in India and still relying only on WhatsApp broadcasts and Meta Ads to reach your customers, you’re leaving serious money on the table. Push notifications have quietly become one of the highest-ROI channels for Indian e-commerce brands — and yet most founders either ignore them entirely or set them up wrong.
In this guide, I’m going to walk you through exactly how to build a push notification marketing strategy that drives repeat purchases, reduces churn, and doesn’t annoy your customers into unsubscribing.
Why Push Notifications Work So Well for Indian D2C Brands
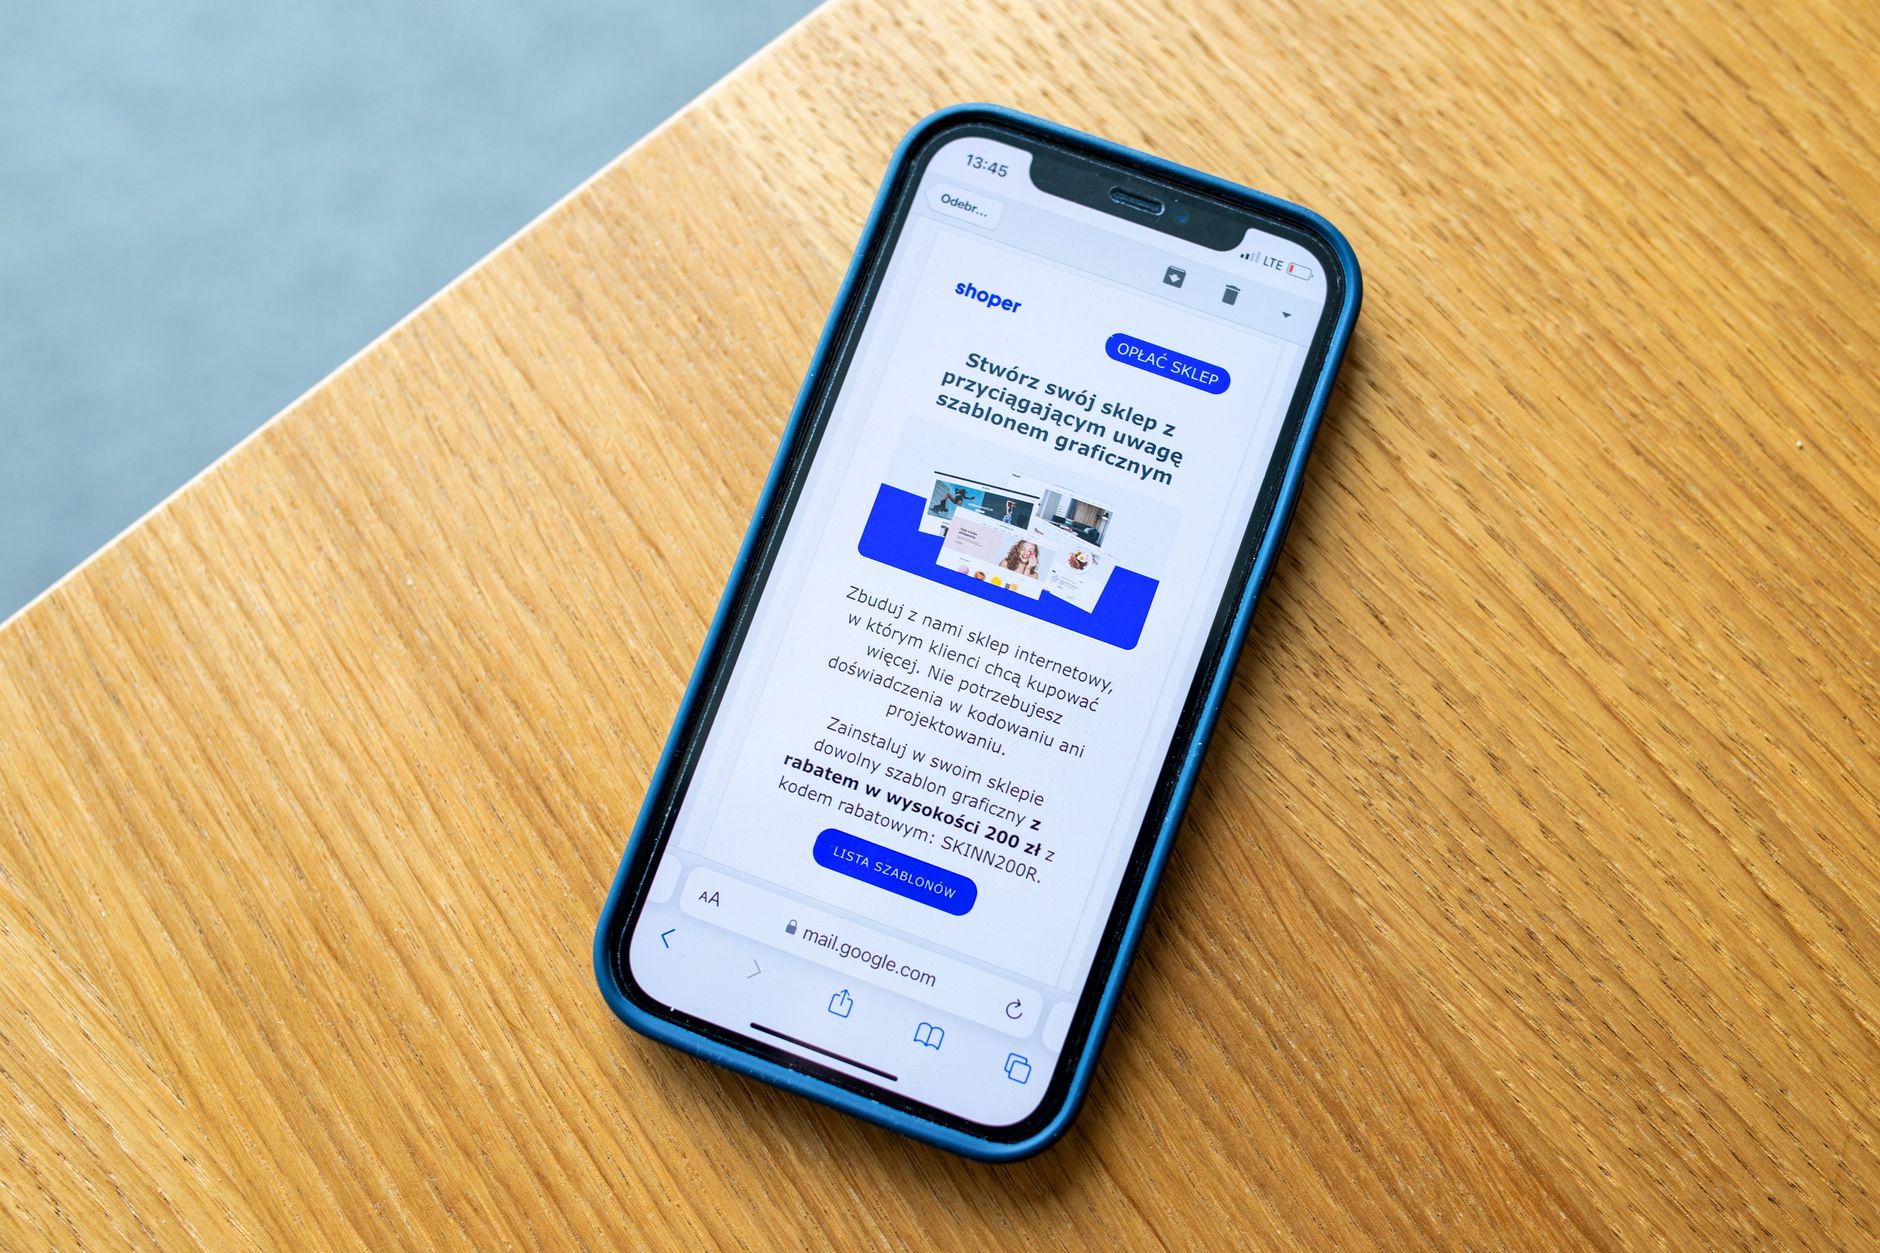
Unlike email (which often ends up in promotions folders) or SMS (which costs ₹0.10–₹0.25 per message), web and app push notifications are practically free to send and land directly on a user’s screen — even when they’re not on your website.
Here’s what makes them especially powerful in the Indian context:
- High mobile penetration: Over 650 million smartphone users in India check their phones dozens of times a day. A well-timed push cuts through.
- Lower competition: While Meta and Google are saturated, most D2C brands aren’t fully using push. Fewer competitors mean higher click rates.
- No algorithm dependency: Your message goes directly to opted-in subscribers. No Meta algorithm deciding your reach.
- Instant delivery: A flash sale at 6 PM? Your notification reaches subscribers within seconds.
Average click-through rates for push notifications in Indian e-commerce typically sit between 4–8%, compared to 1–2% for email marketing — making this one of the most efficient owned channels you can build.
Step 1: Choose the Right Push Notification Platform
Before you can send a single notification, you need the right tool. Here are the top options for Indian D2C brands:
Web Push Notification Tools
- PushEngage — Feature-rich, supports web push across Chrome, Firefox, and Safari. Pricing starts at around $9/month. Great for Shopify stores.
- OneSignal — Popular free tier with solid segmentation. Works for both web and app push. Used widely by Indian startups.
- iZooto — India-first push notification platform with support for Hindi and regional language messages. Strong for news publishers and e-commerce.
- WebEngage — Enterprise-grade, supports web/app/SMS/email from one dashboard. Used by brands like Mamaearth and Bewakoof.
My recommendation for early-stage D2C brands: Start with OneSignal (free up to 10,000 subscribers) to prove ROI, then migrate to a platform like iZooto or WebEngage as you scale.
Step 2: Build Your Subscriber List the Right Way
Your push notification strategy is only as good as your subscriber list. Here’s how to grow it fast without being spammy:
Opt-in Timing Matters
Don’t show the browser push permission prompt immediately when someone lands on your site. Most people will dismiss it instantly if they don’t know who you are yet. Instead, trigger it after one of these moments:
- After someone adds a product to cart
- After they read 2–3 pages of content or scroll 70% of a product page
- When they’re about to exit (exit-intent)
- After their first purchase (highest-intent moment)
Write a Compelling Permission Request
The default browser prompt says “Allow [sitename] to send notifications.” You can’t change that text — but you can add a custom overlay before it appears, explaining the value:
“Get exclusive deals, restock alerts, and early sale access. Allow notifications to stay in the loop!”
This pre-permission popup alone can improve your opt-in rate by 20–30%.
Step 3: Segment Your Push Subscribers Like a Pro
Blasting the same notification to every subscriber is a fast way to get unsubscribes. Effective push notification marketing is all about sending the right message to the right person at the right time.
Behaviour-Based Segments
- Cart abandoners: Users who added to cart but didn’t purchase in the last 1–24 hours
- Browse abandoners: Users who viewed a product page 2+ times without buying
- Wishlist users: Customers who wishlisted items (high intent, easy win)
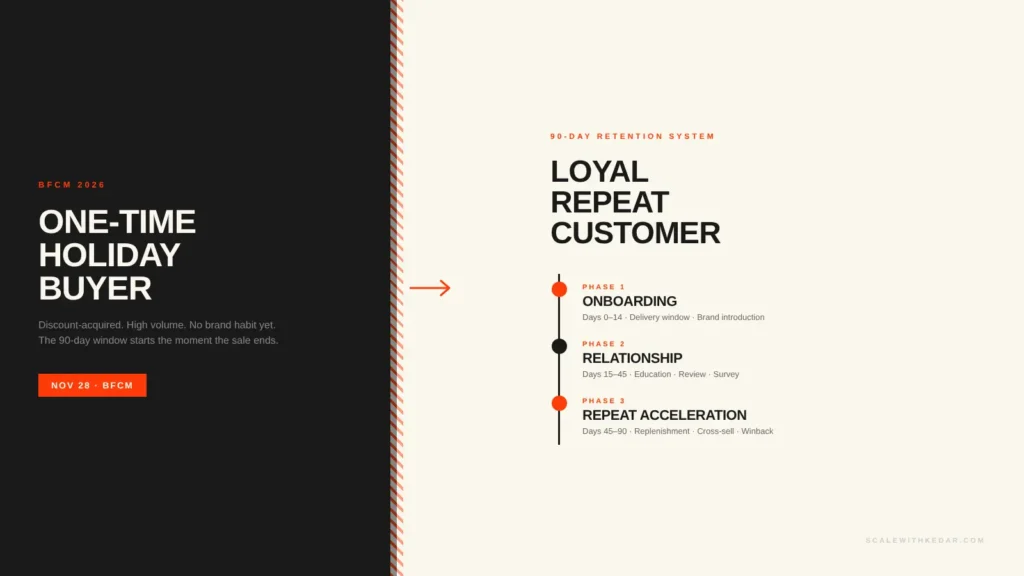
- Lapsed customers: Bought once but haven’t returned in 45–90 days
- Loyal customers: 3+ purchases — perfect for early access and upsell campaigns
Category/Interest Segments
If you sell across categories (say, skincare and wellness), tag subscribers based on which categories they browse. A subscriber who only looks at serums doesn’t need notifications about protein powders.
Step 4: Build Your Core Notification Flows
Cart Abandonment Flow (Highest ROI)
- Notification 1 (1 hour after abandon): “You left something behind! Your [product name] is waiting.”
- Notification 2 (4 hours later): “Still thinking it over? Here’s what other customers are saying about [product].” (social proof)
- Notification 3 (24 hours later): “Last chance — grab 10% off your cart. Use code COMEBACK10.” (optional discount)
Post-Purchase Flow
- Day 1: Order confirmation + delivery timeline
- Day 3–5 (post-delivery): “How are you loving [product name]? Leave a review and get ₹50 off your next order.”
- Day 30: Replenishment reminder (ideal for consumables like skincare, supplements, coffee)
- Day 45: Cross-sell based on purchase history
Win-Back Flow
For customers who haven’t purchased in 60+ days:
- Week 1: “We miss you! Here’s what’s new since your last visit.” (new arrivals)
- Week 2: “A special thank-you offer, just for you — 15% off, valid for 48 hours.”
Step 5: Broadcast Campaign Best Practices
Frequency Guardrails
For most D2C brands, sending more than 3–4 broadcast notifications per week is where unsubscribe rates spike. A sustainable weekly cadence:
- Monday: New arrivals or content push
- Wednesday: Value-add (tips, how-to, or loyalty update)
- Friday/Saturday: Weekend offer or flash sale
Timing for Indian Audiences
The highest click rates for Indian e-commerce push notifications are typically between:
- 8:00 AM – 10:00 AM: Morning commute window
- 12:30 PM – 2:00 PM: Lunch break browsing
- 7:30 PM – 9:30 PM: Post-work peak
Avoid sending between midnight and 7 AM — poor open rates and a reliable way to get unsubscribed.
Notification Copy Formula
The best-performing push notifications follow a simple structure: Attention hook + Specific benefit + Urgency trigger.
Example: “Your favourite serum is back in stock — and 300 units are all we have. Grab yours before it sells out.”
Step 6: Track the Right Metrics
- Opt-in rate: Target 3–7% of site visitors for web push. Below 2% means revisit your permission copy and timing.
- Click-through rate (CTR): Healthy benchmark is 4–8% for behavioural triggers, 2–4% for broadcasts.
- Conversion rate: Of those who clicked, what percentage purchased? Compare to your site-wide conversion rate.
- Unsubscribe rate: If more than 0.5% opt out per broadcast, you’re sending too frequently or too irrelevantly.
- Revenue per notification: The ultimate metric — how much did each notification generate?
Common Mistakes to Avoid
- Sending at the wrong time: 11 PM notifications feel intrusive and spike unsubscribes.
- Generic copy for all segments: Sending the same “Big sale!” message to loyal customers and first-time visitors alike is ineffective.
- No A/B testing: Test your notification titles, timing, and CTAs constantly.
- Overlooking regional languages: A notification in Hindi, Tamil, or Marathi can dramatically outperform English for specific audience segments.
The Bottom Line
Push notification marketing consistently becomes one of the top three highest-ROI marketing channels for Indian D2C brands that set it up correctly — within 60 days of launch. The combination of zero per-message cost, direct reach, and high automation potential makes it worth prioritising over almost any other new channel you could test right now.
Start simple: pick a platform, set up your cart abandonment and post-purchase flows, and send two to three broadcasts a week. Measure, iterate, and scale from there.